This website may include affiliate links and advertisements, allowing us to share delicious recipes with you. Please review my disclosure policy for more information.
Grandma’s Flaky Pie Crust: A Thanksgiving Essential
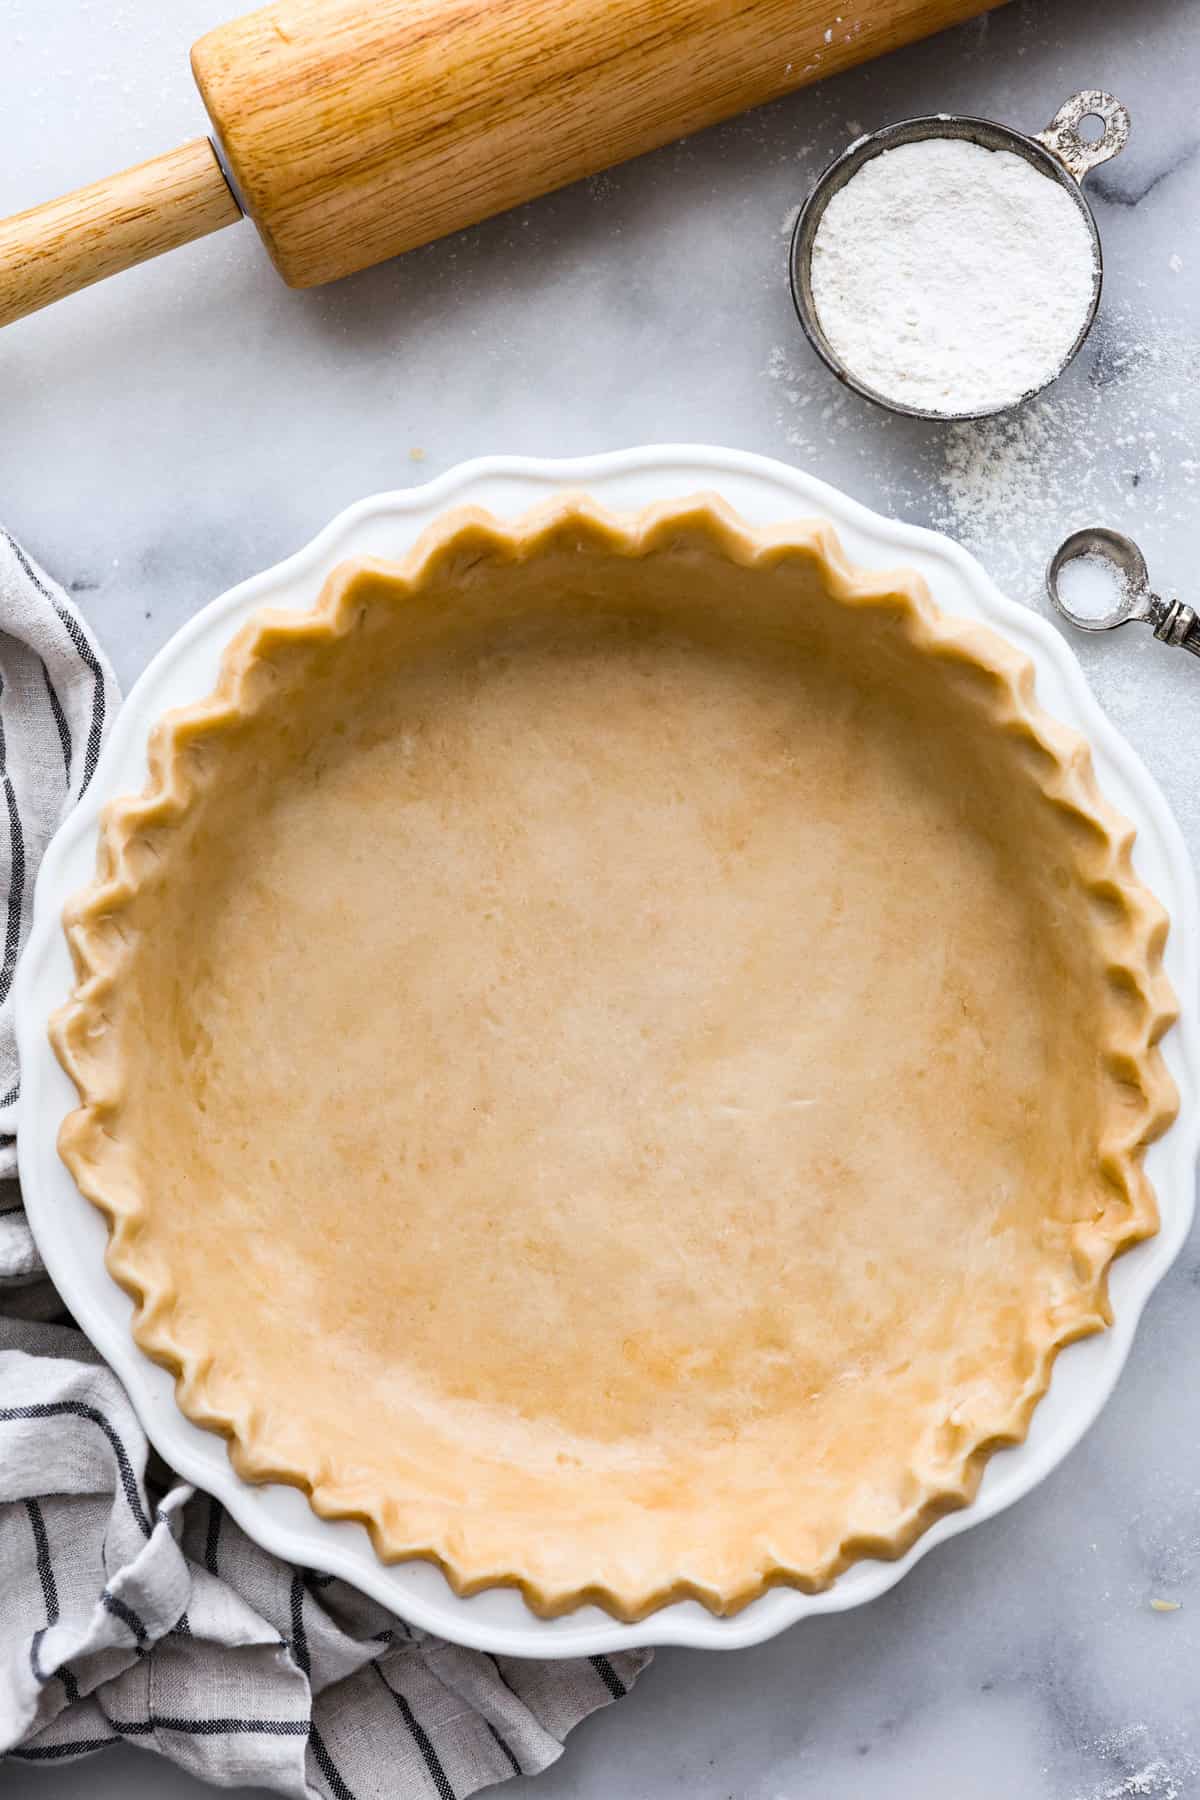
Tender, buttery, and incredibly simple to prepare, my Grandma’s classic pie crust is the perfect addition to your Thanksgiving feast. Once you try this foolproof recipe, you’ll never want to buy store-bought crusts again!
What Readers Are Saying
“Thank you for sharing Grandma’s Perfect Pie Crust recipe! I’ve tried countless recipes but could never get the crust to hold together. Now I can make a pie crust that not only stays intact but also tastes amazing!” — Ginger
Effortless Homemade Pie Crust Recipe
My grandmother was renowned for her exceptional pies during Thanksgiving—her crusts were always light and flaky while her fillings were simply divine! Each year, we eagerly anticipated her culinary creations. Despite raising eight children, she managed to serve home-cooked meals every night from scratch. I fondly remember summer days spent with her enjoying freshly baked bread or warm peanut butter cookies right out of the oven (you can find that bread recipe here!).
However, nothing topped her iconic cherry pie—truly unmatched! Her perfect pie crusts inspired me to show you just how easy it is to create your own from scratch. With just a few basic ingredients likely already in your pantry, this recipe comes together in minutes and will elevate any pie you make! Plus, I’ve included a handy printable graphic for your convenience so we can keep this cherished tradition alive.
Ingredients for Your Homemade Pie Crust
Creating an outstanding pie starts with a simple yet flaky golden crust made from everyday ingredients:
- All-Purpose Flour: Ideal for achieving a soft and flaky texture due to its low protein content.
- Salt: A pinch enhances the overall flavor of the dough.
- Shortening: Provides necessary fat; feel free to substitute with butter or coconut oil if preferred!
- Cold Water: Essential for moistening the dough; keeping it cold is crucial for achieving flakiness.
Steps To Crafting The Perfect Pie Crust
Making an excellent pie crust is straightforward—just follow these steps with care!
-
Combine Dry Ingredients & Shortening: In a medium bowl, mix flour and salt together before cutting in shortening until it resembles pea-sized crumbs.
-
Add Moisture Gradually: Sprinkle cold water over the mixture one tablespoon at a time while tossing gently with a fork until all flour is moistened without overmixing.
3. Shape & Roll Out Dough: Form into a ball then roll out on a floured surface until reaching desired size—perfectly ready for any filling!
If you’re preparing this dough specifically for cream pies, check out my guide on how to blind bake your pie crust first.
Delicious Filling Ideas
Whether you’re craving traditional flavors or something unique like chocolate or citrus-infused pies—the options are endless! Your freshly made pie crust will complement any filling beautifully. Explore more delightful recipes here:
- Caramel Apple Pie: 1 hr 40 mins
- Sweet Potato Pie: 4 hrs 10 mins
Tips For Success
Crafting homemade pastry can be both rewarding and impressive! Here are some essential tips:
-
Chill Your Ingredients: Cold components lead to flakier results; avoid using warm items which may toughen your dough.
-
Avoid Overmixing: Mix just enough until everything holds together; excessive mixing develops gluten resulting in chewiness rather than tenderness.
- Add Water Sparingly: Too much water makes dough hard while too little leads it dry; add gradually until desired consistency is achieved.
-
Utilize A Food Processor (Optional): For ease of blending dry ingredients quickly before adding moisture if preferred.
-
Infuse Flavor Into The Dough: Consider adding spices like pumpkin spice or zest from citrus fruits—it enhances both aroma and taste!
Make Ahead Options
Not ready to bake? No problem! You can easily store your prepared dough:
In The Refrigerator: Wrap uncooked dough tightly in plastic wrap within an airtight container up-to three days ahead of baking—allow it room temperature before rolling out.
In The Freezer: Shape into pan form prior freezing so it’s oven-ready without thawing needed later on—or freeze as balls wrapped securely in plastic wrap overnight before rolling out when needed.
Pin this post now so you’ll have easy access later!
1) In medium bowl combine flour & salt then cut shortening till pea-sized 2) Add water one tablespoon at time tossing gently till moistened 3) Form into ball then roll-out on floured surface turning occasionally till desired size reached
Updated November 1st ,2023 | Originally Posted October 10th ,2015
To double batch: Add:
- An additional cup of flour
- An extra half teaspoon salt
- Double shortening - Double cold water
Nutritional Information (per serving): Calories: 147 kcal | Carbohydrates: 15 g | Protein: 2 g | Fat: 9 g | Saturated Fat: 2 g | Sodium :73 mg| Potassium :21 mg| Fiber :1g| Sugar :1g| Calcium :3mg| Iron :1mg
Note: Nutritional values are approximations based on automatic calculations.
About Alyssa Rivers
Alyssa Rivers is an accomplished food photographer and author behind ‘The Tried-and-Tested Cookbook.’ Her passion lies within cooking where she has developed numerous beloved recipes featured across platforms such as Good Morning America & Buzzfeed among others.
Explore More Ideas: Cherry Slab Pie – Total Time Required – Approximately Two Hours Fifteen Minutes

