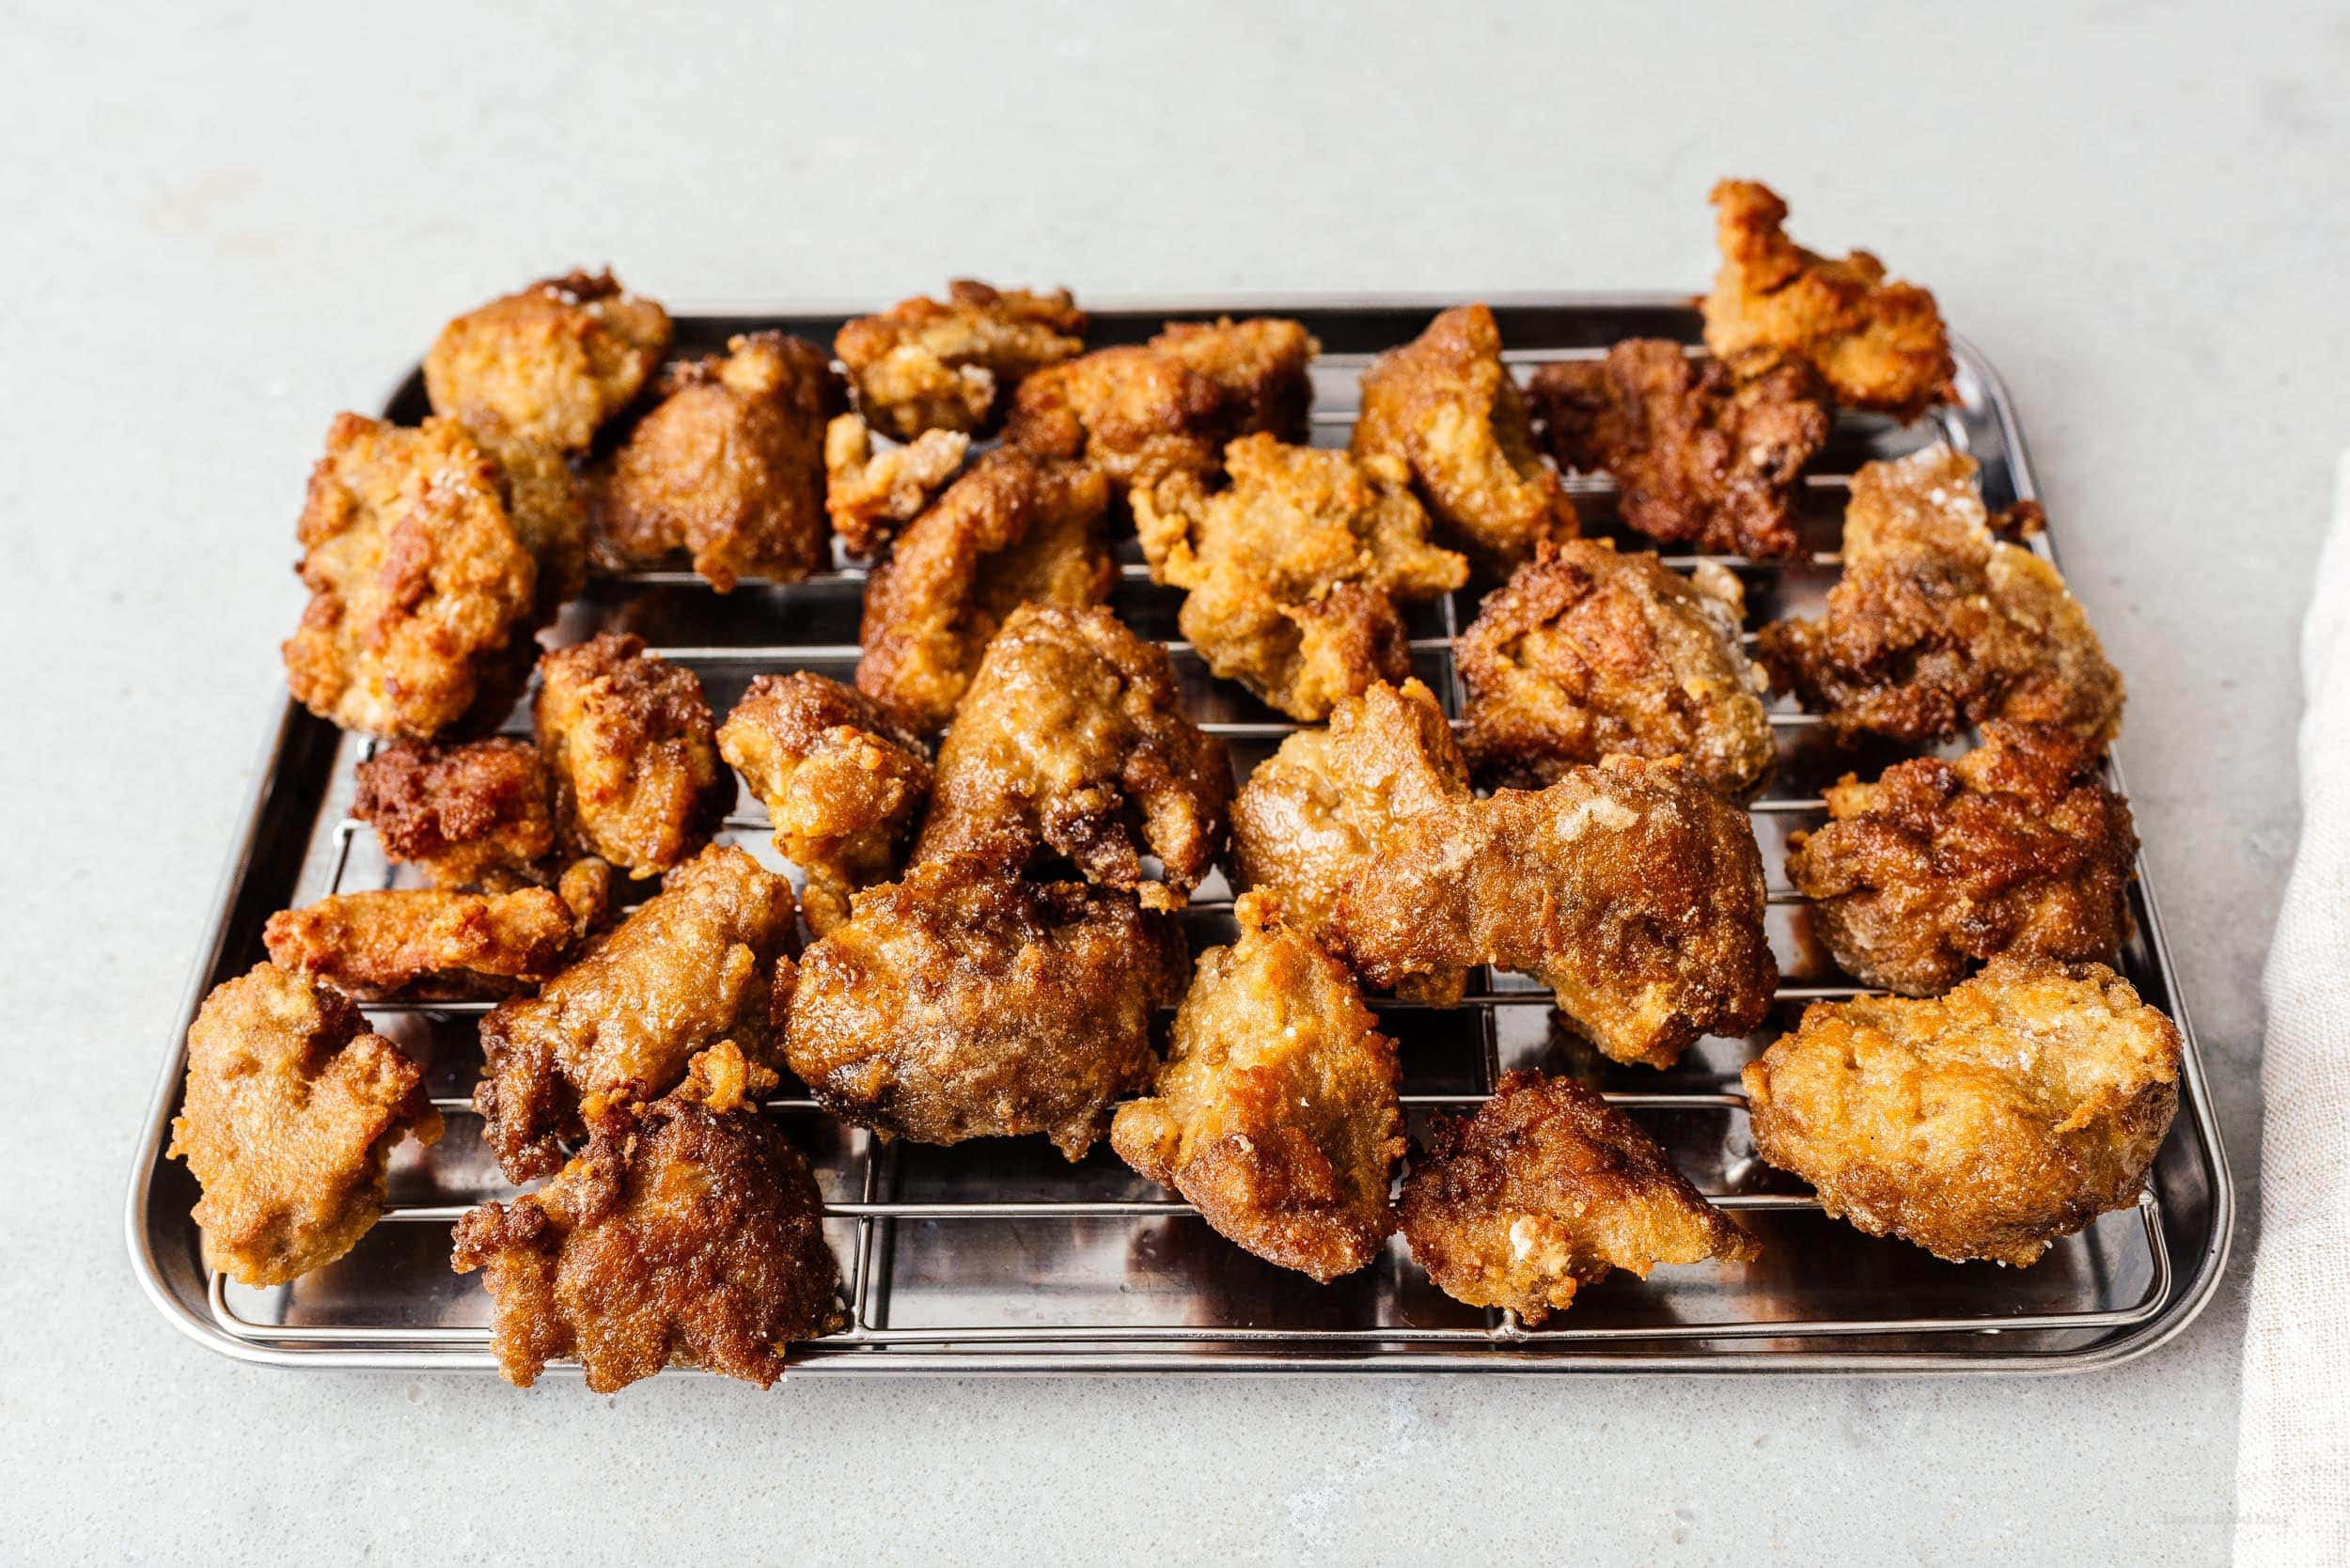
Discovering Seitan: The Ultimate Vegan Protein Source
Seitan, a highly adaptable vegan protein derived from vital wheat gluten, is often referred to as “vegan chicken” due to its meat-like appearance and texture. If you’re exploring the world of plant-based cooking—whether you’re vegan or just curious—you’ve likely encountered seitan in various viral TikTok recipes.
Despite being made from wheat, seitan bears no resemblance to bread. When cooked, it mimics the look and feel of meat remarkably well! Packed with protein, it serves as an excellent alternative for those seeking plant-based options. Seitan can be prepared in numerous ways: boiled, baked, deep-fried, pan-fried, sliced, crumbled, or shredded. Much like tofu, it absorbs flavors beautifully and offers incredible versatility in the kitchen.
What Exactly is Seitan?
Seitan is essentially concentrated wheat gluten—the protein component found in wheat. The term “seitan” (セイタン) has Japanese origins but traces its roots back to China during the 6th century when it was first created as a meat substitute for Buddhist monks adhering to strict vegetarian diets. Its chewy texture makes it a popular choice across Asian cuisines as a meat alternative.
You can find seitan at health food stores or Whole Foods; however, making your own at home is surprisingly simple! You can create seitan using either whole flour through washing techniques or by utilizing vital wheat gluten directly.
How to Make Your Own Seitan
-
Prepare the Dough: Combine 1 cup of vital wheat gluten with 1/4 cup of chickpea flour and your preferred seasonings. Gradually mix in 1 cup of water or vegetable broth.
-
Knead: Knead the dough for about 5-10 minutes until you develop strands of gluten that give seitan its characteristic chewy texture—more kneading results in chewier seitan while less yields a more tender product.
-
Rest: Allow the dough to rest covered for approximately 5 minutes so that the gluten relaxes.
-
Simmer: Cut into pieces (four or more), shape them accordingly and simmer on low heat in flavorful broth until cooked through.
-
Enjoy: Your homemade seitan is ready! Use it straight away or incorporate it into your favorite recipes where you would typically use meat.
Key Ingredients
The primary ingredients needed are simply vital wheat gluten and water!
Historical Background
Seitan originated as a vegetarian option for Chinese Buddhist monks who adhered strictly to vegetarianism—a principle still prevalent today within many Asian culinary traditions featuring dishes that closely resemble traditional meats but are crafted from seitan instead.
Versatile Uses
Seitan can replace any type of meat product—it can be shredded for tacos or stir-fries; sliced into sandwiches; formed into sausages; even shaped into nuggets! Its adaptability makes it an ideal ingredient across countless recipes.
Flavor Profile
On its own, seitan has a mild flavor profile—slightly savory yet somewhat bland—which allows it to absorb various seasonings effectively during cooking processes.
Making Seita Easy at Home
Thanks largely due to readily available vital wheat gluten today’s home cooks find making this delicious alternative easier than ever before!
Understanding Vital Wheat Gluten
Vital wheat gluten represents an isolated form of protein extracted from regular flour which contributes elasticity and chewiness when baking bread products—when mixed with water and kneaded slightly transforms into dense meaty textures perfect for creating homemade versions!
For those looking for softer textures without compromising taste consider adding other flours such as chickpea flour alongside vital wheat gluten—a great way if you want something less tough than pure-gluten products!
Washed Flour Method: TikTok Trend
The washed flour method has gained popularity on platforms like TikTok but requires significantly more effort compared with using vital wheat gluten—it involves mixing three parts all-purpose flour with one part water then repeatedly washing out starch until stringy dough forms over several hours before cooking similarly afterward!
Cooking Techniques
There are numerous methods available when preparing your finished product:
- Steaming creates fluffy pieces ideal for stir-frying while maintaining moisture levels
- Simmering infuses flavors deeply throughout each piece
- Deep frying produces crispy bites perfect served alone or added onto salads & wraps alike!
Where To Find It?
If you’re searching grocery aisles look near tofu sections within refrigerated areas—or check local Asian markets where frozen varieties may also be stocked up too!
Storage Tips
Store leftover portions wrapped tightly inside sealed containers kept chilled up-to-one week maximum duration ensuring freshness remains intact throughout usage periods ahead…
Nutritional Benefits
As an excellent source lean-protein option low saturated fats & carbohydrates make this dish suitable even those watching dietary intake closely—but individuals sensitive towards glutens should opt alternatives such-as tofu instead since they contain high amounts thereof…
With these insights about what makes this unique ingredient special hopefully inspires trying out new creations right away! Here are some delicious recipe ideas featuring our star player:
- Chicken Fried Rice Featuring Seita!
- Pan-Fry Slathered In Korean Fried Chicken Sauce
- Shredded Into Taquitos
- Sliced And Tossed With Savory Yakiudon Noodles
Simple Homemade Seita Recipe
Serves: 4
Prep Time: 15 Minutes | Cook Time: 1 Hour | Total Time: 1 Hour &15 Minutes
Ingredients
- Broth (vegetable) – six cups
- Half medium onion – roughly chopped
- One carrot – roughly chopped
- One stalk celery – roughly chopped
- Soy sauce – one-third cup
Instructions 1) In large bowl combine together all dry ingredients including both types flours along seasoning powders then add liquid gradually stirring until cohesive dough forms turning out onto surface kneading thoroughly between five-ten minutes depending desired consistency achieved! 2) While resting prepare boiling pot containing remaining ingredients allowing simmering process commence once ready cut/shaped pieces added gently ensuring not boil over causing loss structure integrity maintained throughout duration required cook time hour total uncovered monitoring carefully… 3) Once complete remove heat allow cooling down before utilizing immediately storing leftovers within broth refrigerating maximum week period freezing longer-term preservation options available too…
Enjoy experimenting different variations sweet-sour sauces paired alongside fresh veggies tossed together creating delightful meals everyone will love savoring every bite taken!!

